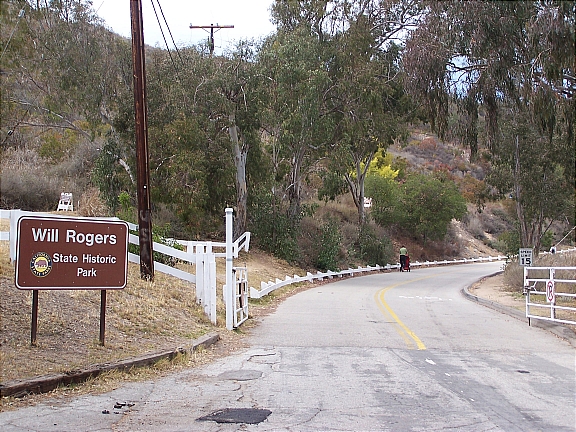
Located in the Pacific Palisades, Will Rogers State Historic Park is one of Los Angeles’s best kept secrets. One of the most popular and highest paid actors of his time, Will Rogers purchased this 186-acre property during the 1920’s as a retreat for his friends and family. An avid rider and horse fanatic, Will Rogers built an expansive ranch which included a 31-room ranch house, stable, corrals, riding ring, and a polo field. In 1935, Will Rogers was the victim of a tragic plane crash, and following his wife’s death in 1944, the ranch was converted into a State Park.
One of the most popular activities to enjoy at Will Rogers State Historic Park is hiking. Take the easy/moderate 3-mile trail loop up to Inspiration Point where you’ll be able to enjoy breathtaking views of downtown Los Angeles, Santa Monica, and the Pacific Coast. If you’re looking for something a little more challenging, head up along the Backbone Trail into the Santa Monica Mountain. The trail offers a fantastic opportunity for mountain biking, horseback riding (BYOH – Bring Your Own Horse), and hiking – leading you as far as Point Mugu State Park in Malibu.
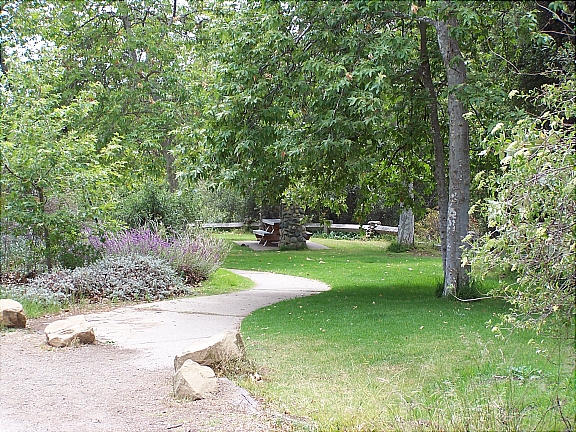
Will Rogers State Park is also popular for picnicking – there is tons of green space available for you to set up and enjoy picnic (first picture below).
For something completely different, head up to the park on the weekends for an exciting polo match. The polo field (second picture below) is the only regulation size field in Los Angeles County; in fact, it’s the only polo field period. During the season (April through October), the Will Rogers Polo Club holds matches on Saturday – from 2pm to 5pm, and Sunday – from 10am to 1pm. The matches are absolutely free to the public, so if you’ve never seen a game of polo in person, make sure to come by and check it out.
Getting Here
Getting to the park is quite simple. Take Sunset Blvd westbound towards Pacific Palisades and make a right on Will Rogers State Park Rd. You’ll take the road for about half a mile until you reach the park entrance. Entrance to the park is free but there is a $7 fee for parking.
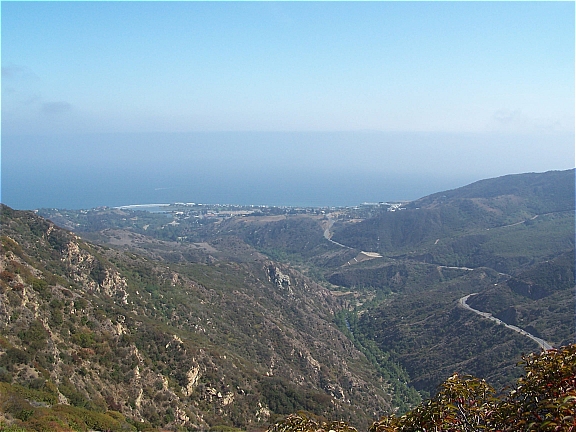
The last overlook I covered along Piuma Rd in Malibu (Piuma Lookout: Part 1) was pretty easy to access and couldn’t be missed. The lookout had a couple picnic tables and a breathtaking panoramic view of the canyons. Now if you’re looking for something a little more secluded and want to get a glimpse of the Pacific Coastline, head a little further down Piuma Rd till you see a short trail that leads off the road (first picture below).
You can park your car along Piuma Rd (make sure you’re not actually on the road) and make your way up the hill. It’s a little steep and there are rocks so you’ll want to wear some comfortable shoes that you wouldn’t mind getting dirty. Although it may look difficult, it’s really not that bad getting up there…just be careful and watch your step.
Once you reach the top of the hill there will be a small dirt area where you can enjoy the view (second picture below). If you want to hang out there for a while, bring along a blanket and lay it out on the ground. Although you’re not trespassing and there are no signs prohibiting it, I can’t be certain that you’re allowed up there – so just keep that in mind before you go.
Notice: PlanJam is not responsible for any injuries and/or fines that may be incurred. If you decide to go up there…you do so at your own risk.
A local favorite since 1997, Cafe Balcony is a quaint little coffee shop located in West Los Angeles. Tucked away along Rochester Ave (right off of Santa Monica Blvd and Centinela) , this neighborhood gem takes an interesting approach in creating the perfect cup of coffee. Brewed using a unique hand-crafted Siphon (see picture below), the result is a remarkably great tasting cup of coffee that’s always made to order.
The contraption resembles a chemistry set that you may have used in High School. The Siphon is made up of three parts: a burner, a water chamber, and a brewing chamber which holds the freshly ground organic beans. The burner heats up the water and essentially creates a vacuum effect which forces the water into the brewing chamber. The coffee is brewed in the chamber for a few minutes, funneled back down into the water chamber, and then served.
If this all seems a little too scientific for you, don’t worry…they also offer some simpler alternatives. Using the finest Italian coffees from Illy, all of their espresso drinks (lattes, cappuccinos, etc.) are absolutely fantastic.
Cafe Balcony also provides free wireless internet and is open daily till midnight.
NOTE: They don't accept credit cards so remember to bring along some cash.
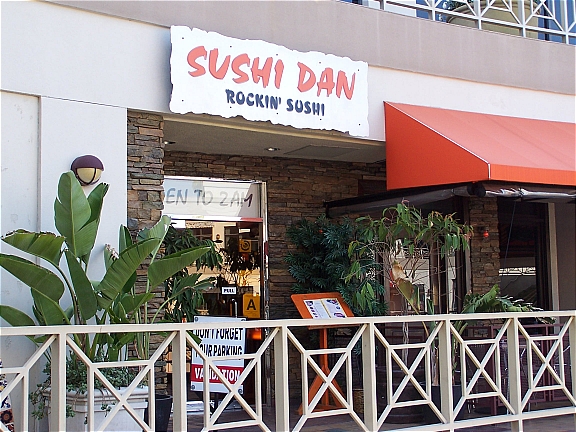
If you’re looking to enjoy great sushi without putting a dent in your pocketbook, you absolutely must give Sushi Dan a shot. Located on the second floor of the Sunset Plaza complex (above the Virgin Mega Store), Sushi Dan serves a plethora of Japanese specialties with an innovative twist. They have all your favorites…sashimi, specialty rolls, baked rolls, and a fantastic assortment of hot teriyaki meats and udons (Japanese noodle soups).
The Sunset Plaza location can get a little dark in the evening; it’s great for intimacy but not too helpful when you’re trying to read through the menu. The restaurant is broken up into three sections – an indoor dining area, sports bar, and a heated outdoor patio. Parking is available at the complex but make sure that you get your ticket validated at the restaurant before leaving (otherwise, the parking fee can be pretty hefty).
Sushi Dan currently has two locations in the Los Angeles area. The location shown above (Sunset Plaza) is in West Hollywood while the other is nestled along Ventura Blvd in Studio City. Both locations sport an upbeat vibe, attentive service, and sushi that is surprisingly affordable.
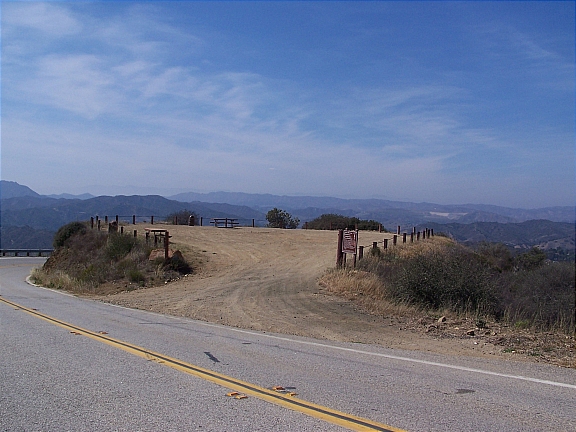
If you’re in the mood for a little drive, head up along Piuma Rd in Malibu for a breathtaking experience. The drive up to the lookout is exceptionally charming; you’ll enjoy picturesque views of the Pacific Coastline as you traverse the windy road. There are quite a few spots along Piuma Rd to take in a view, but there are two that I am particularly fond of. The first one, which will be discussed in this post, is a large dirt area overlooking the canyons. The other spot is a little more secluded and does require a little more effort to get to.
Once you reach the overlook, you can park your car on the dirt area. There are two large picnic tables available so feel free to bring along some food or even a board game. I strongly suggest that you take a warm sweater or coat with you because it does tend to get a little breezy up there.
Getting Here
You can get to the overlook from either Calabasas or Malibu. If you’re headed from Malibu, travel eastbound along Malibu Canyon Rd and make a right on Piuma Rd. Alternatively, if you’re coming from Calabasas, go westbound along Las Virgenes Rd and make a left on Piuma Rd.
Once you’re on Piuma Rd, you’ll drive for about 10 minutes until you reach a large dirt area which overlooks the canyons. Since there are no cross-streets on the way up, you’ll have to just keep your eyes open. The overlook will be on your left side as you come around the bend (click here for a map) and you’ll also be able to see it above you as you’re coming up Piuma Rd.
Located in the Pacific Palisades, Temescal Gateway Park covers over 140-acres of terrain and is one of the most popular of the Santa Monica Mountain parks. The park offers ample opportunities for picnicking, panoramic views of the coastline, large grassy areas, and access several hiking trails that range from easy to moderate difficulty. You can also access additional hiking trails into Topanga State Park and Will Rogers State Historic Park.
Parking is available at the park entrance for $5 per day. The parking lot is a haven for parking enforcement so make sure that you follow all the rules. Also, make sure to watch your speed and come to a complete stop when necessary; the forest rangers are always on the prowl and they won’t hesitate to give you a citation. By the way, failure to come to a “complete” stop will run you about $100 (this comes from experience).
Alternatively, you can skip the parking fee and park along Temescal Canyon Rd or Sunset Blvd for free; just make sure to read the signs before heading up to the park. Also, if you’re coming here for the hike, make sure that you bring plenty of water along with you…there are no water fountains along the trails.
Getting Here
Getting to Temescal Gateway Park is really simple. If you’re taking PCH, turn onto Temescal Canyon Rd and head up about 1 mile until you reach Sunset Blvd…the park will be directly in front of you. If you’re taking the streets and are headed westbound along Sunset Blvd, you’ll make a right turn into the park at Temescal Canyon Rd.
Located in the eastern portion of the Santa Monica Mountains, the 10-acre San Vicente Mountain Park offers access to an expansive network of trails for hiking and mountain biking, several picnic areas, and breathtaking 360-degree views of the city.
Interestingly enough, San Vicente Mountain Park was once used as a missile launch site during the Cold War (from 1956-1968). That explains the Nike-Ajax anti-aircraft structure and radar tower; both are no longer operational but the radar tower is an excellent spot from which you can enjoy a spectacular sunset.
Getting Here
Getting to the park is fairly simple. If you’re taking the freeway, take the 405 North and exit on Skirball Center Dr. Turn left onto Skirball Center Dr and then make another left on Mulholland Dr. As you’re heading east along Mulholland Dr, you’ll notice a dirt road on your left side…turn onto that road and head up the unpaved trail. The physical address is 17500 Mulholland Dr, but the nearest cross street to the park entrance is Canyonback Rd.
You can either park your car immediately on the right or continue a little further till you reach the parking lot. Once you park your car, there is a short 10-minute walk up to the park along a wide dirt road.
Note: The unpaved road is extremely bumpy and there are tons of rocks. If you have low profile tires, there is a chance that you may damage them.
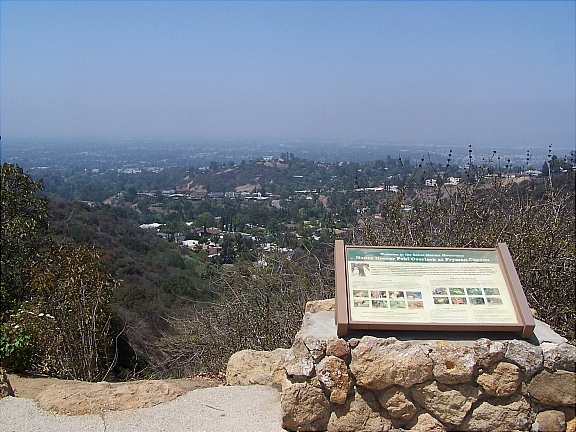
Enjoy a fantastic view of the San Fernando Valley from the Nancy Hoover Pohl Overlook in Studio City. This scenic viewpoint is located on the north side of Mulholland Dr along the Mulholland Scenic Parkway. The overlook has its own parking lot, physical fitness course, and provides access to several hiking trails through Fryman Canyon – including the five-mile Betty Dearing Mountain Trail.
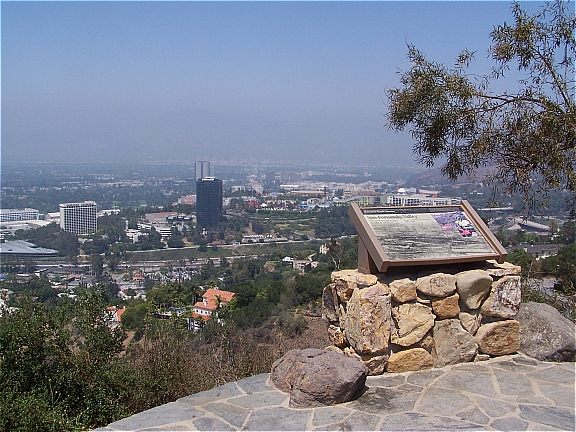
Located on the north side of Mulholland Drive in Studio City, the Universal City Lookout offers scenic views of Universal City, the San Fernando Valley, and Verdugo Hills. Funded by Universal Studios, the overlook was built in 1984 for the upcoming Summer Olympics which was hosted in Los Angeles. There is ample parking across the street along Mulholland Dr.
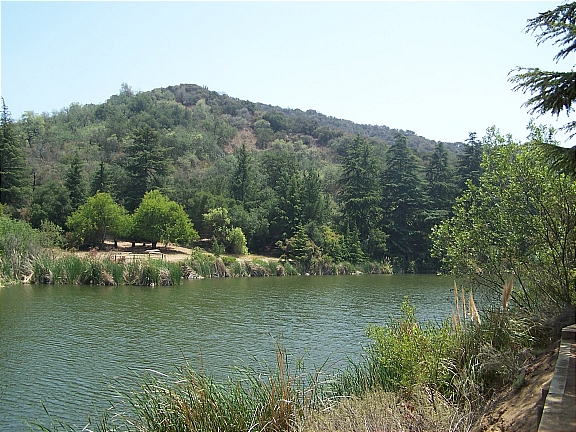
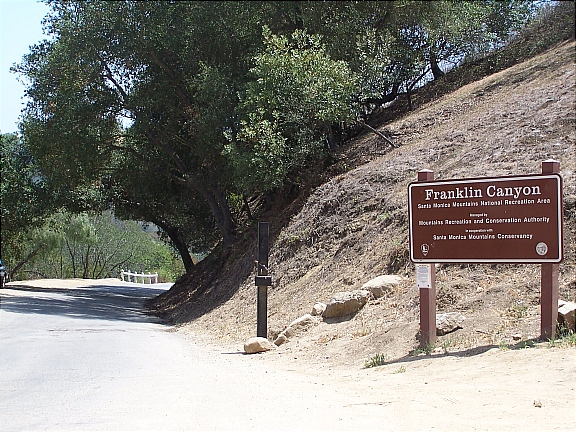
Located in Beverly Hills and part of the Santa Monica Mountains, Franklin Canyon Park provides a fantastic opportunity for hiking, picnicking, and breathtaking views of the city. This 600+ acre gem offers over 5 miles hiking along 3 major trails with various difficulty levels:
Discovery Trail
Easy (20 minutes / 0.3 miles): The easiest of the three, the Discovery Trail is a short loop that will take you about 20 minutes or less to complete. You can access the Discovery Trail from the southern entrance to the park.
Berman Trail
Easy/Intermediate (40 minutes / 1 mile): The Berman trail is about a mile in length and is moderately difficult. This trail connects to the northern entrance at Mulholland and provides for a scenic hike across the Santa Monica Mountains.
Hastain Trai
Intermediate (90 minutes / 2.3 mile): Although it’s the most popular trail at Franklin Canyon Park, the Hastain Trail is also the most strenuous. Gradually increasing as you make your way up trail, you’ll eventually reach a scenic overlook of the city; from here you can enjoy panoramic views of West Los Angeles and the Pacific Ocean.
Getting Here
There are two access points that feed into Franklin Canyon Park – one from the south and one from the south
From The South (Los Angeles-Beverly Hills): Travel north along Beverly Dr (towards Coldwater Canyon). Make sure you pay attention to the signs because you’ll have to turn left in order to continue along N Beverly Dr (otherwise, you’ll head up Coldwater Canyon). As soon as you reach Fire Station No. 2, keep your eyes open for Franklin Canyon Dr – it’ll be the third street on your right. Make a right turn onto Franklin Canyon Dr and then take the road until you reach the park entrance at Lake Dr.
From The North (San Fernando): To northern entrance can be accessed via Franklin Canyon Dr from the Mulholland Dr & Coldwater Canyon Intersection – you’ll see a sign that reads, “Road Closed 800 Feet. Sunset to Sunrise”. From here, simply follow the paved road until you reach the Sooky Goldman Nature Center. Alternatively, you can continue about 1.5 miles along Franklin Canyon Dr until you reach the southern entrance at Lake Dr.
Parking
Parking is available at Franklin Canyon Ranch (southern entrance), along Lake Dr, or at the Sooky Goldman Nature Center (northern entrance).


 Located in the Pacific Palisades, Will Rogers State Historic Park is one of Los Angeles’s best kept secrets. One of the most popular and highest paid actors of his time, Will Rogers purchased this 186-acre property during the 1920’s as a retreat for his friends and family. An avid rider and horse fanatic, Will Rogers built an expansive ranch which included a 31-room ranch house, stable, corrals, riding ring, and a polo field. In 1935, Will Rogers was the victim of a tragic plane crash, and following his wife’s death in 1944, the ranch was converted into a State Park.